This week I am a little bit late with the blog because I have lots and lots of retouch, but here it is.
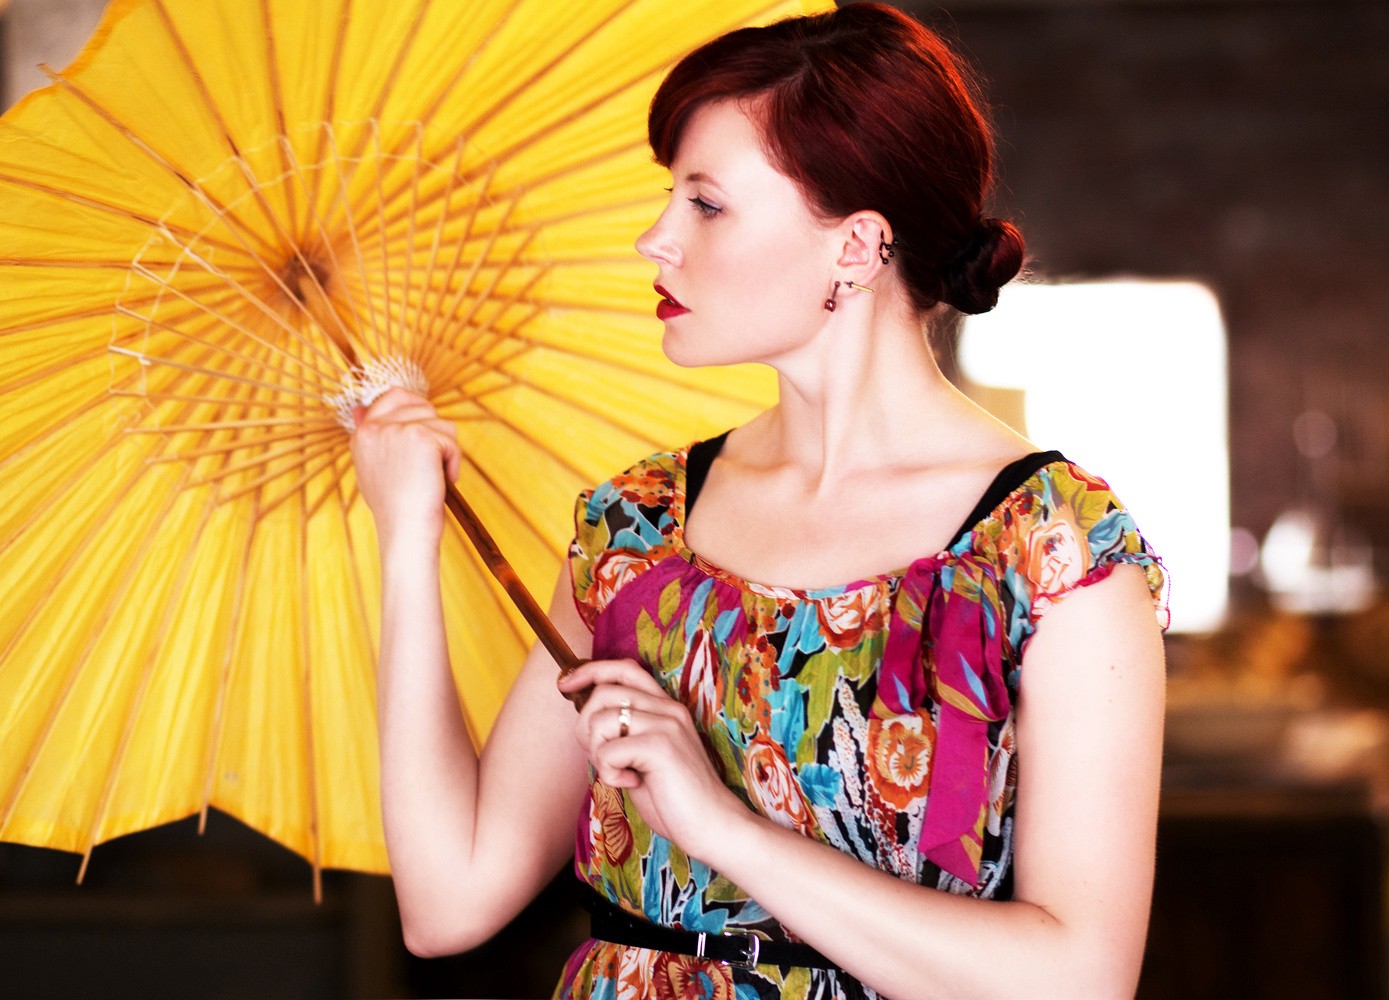
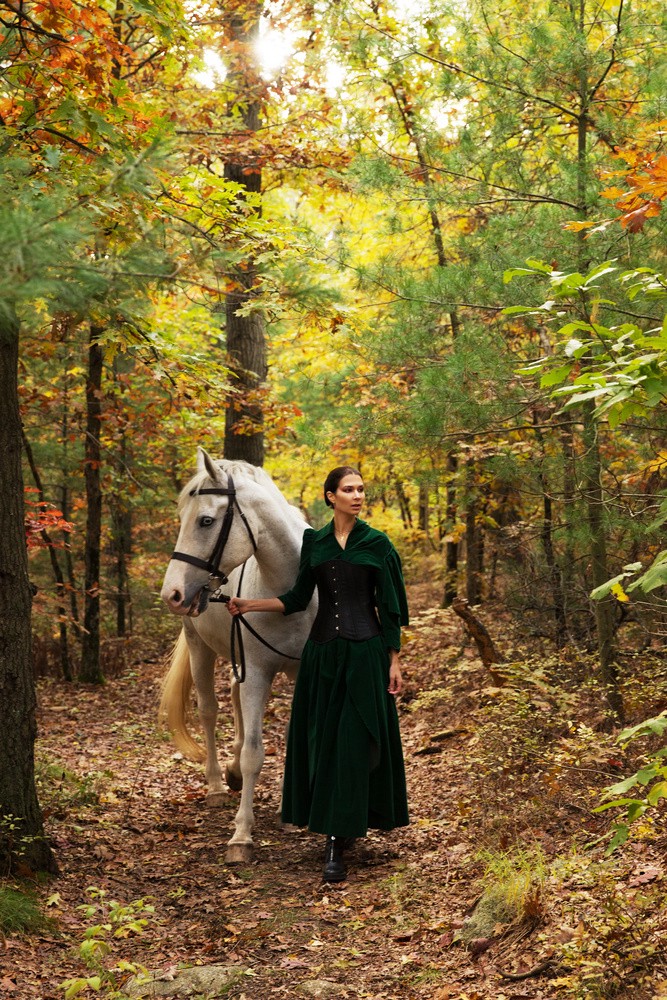
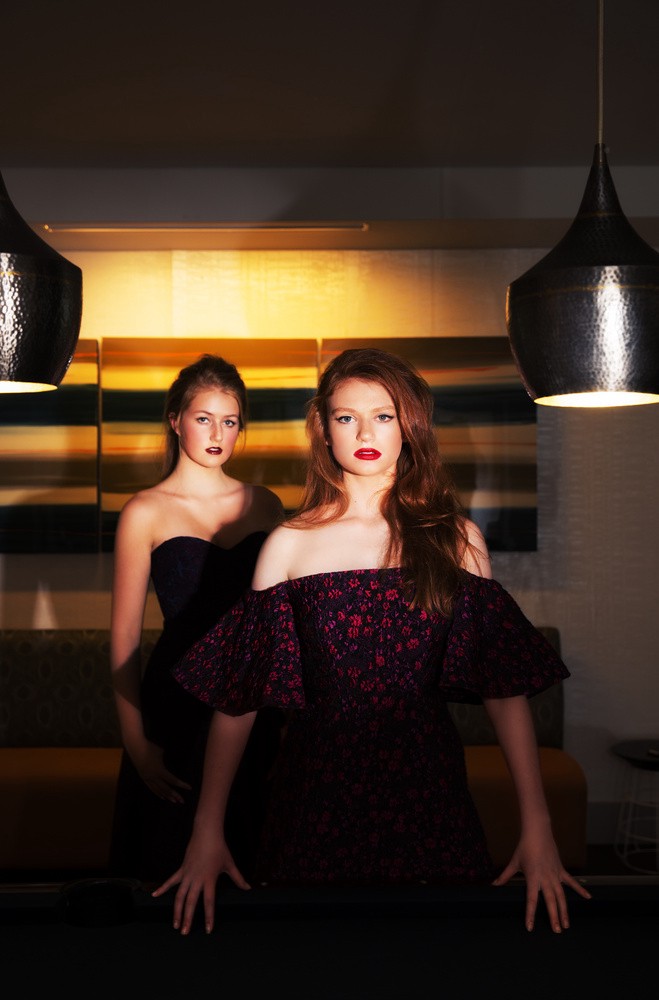
I was asked to talk about glare problem as an addition to my Big Light Tutorial. As an example, I was asked to mention green of the forest and ceiling light. I actually talked about it here and here, but let’s gather it into more structured answer.
So let’s say you are on the location and you have a light that is not going with what you planned. You have 3 options get rid of it, overwrite it or go with it.

Get rid of it. So for example I have a client who is a boutique and, as boutique owner spends a lot of time on interior design, they often think that the boutique itself is a good spot for their promotional photoshoot. Their logic is:
- they made sure it looks luxurious and reflects their brand identity
- they know the pieces will be safe and sound, no need to transport
- as they normally own the space, not the pieces, it’s good for them to advertise the space as well.
Unfortunately these boutiques often have very little natural light (light from the windows is blocked by the products on display) and nasty yellow ceiling light. So you take the job, you bring your own light and you ask to turn off the ceiling light, but they say no, because they don’t want to close the shop.
Here it’s really important to stand your ground. Yes, they are your clients, but you are a professional who knows how to make a good picture. They wouldn’t tell a dentist what to use to fill a cavity in their teeth so…normally during the meeting before I take the job I tell that all interior lights must be turned off and they need to pay for studio light transportation. Sometimes I turn back on some nice lights on the wall in addition to my light to have an interesting accent on the background, but that’s up to me.

Overwrite it. If the light is not under your control you can still flag it out by installing a big black flag on it’s way. It can be problematic when the light is above the model, but when it’s a glare of an open door at the other side of a big space black flag can be a good solution.
Another thing you can do is use higher brightness on your studio lights. Say without glare you were planning to shoot at 1/160, 5.6, ISO 400. The picture with glare will be a superposition of a picture taken with pure studio light + picture of glare. Now let’s bump ISO to 100 and adjust the brightness of studio light accordingly. Now studio light picture didn’t change (except became less noisy), but glare component became 4 times less visible = cool, we are closer to what we wanted.
Finally green glare from when you shoot in a forest or unwanted gradient you can fix in post-prod (by the way, I am not talking about post-prod at all in this blog, would you like me too? Send your requests and comments to aliona.kuz@gmail.com)

Go with it. Sometimes if the glare is pretty I just leave it be. For example, I use natural light from the window on a rainy day, I might turn on a light on the nightstand as well — it won’t “draw” anything for me, but will add a feeling of warmth and comfort and some variety to my color scheme. I have no problem mixing temperatures — some people don’t like it, which is their right of course, but I like little random element, even little calculated mistake on the picture, it looks more candid and spontaneous and less commercial that way.
Next Up: Nudity Paradox