This is the last of three basic articles about light properties. After today we will proceed to concrete schemas we can use working in studio and on location. But before that…
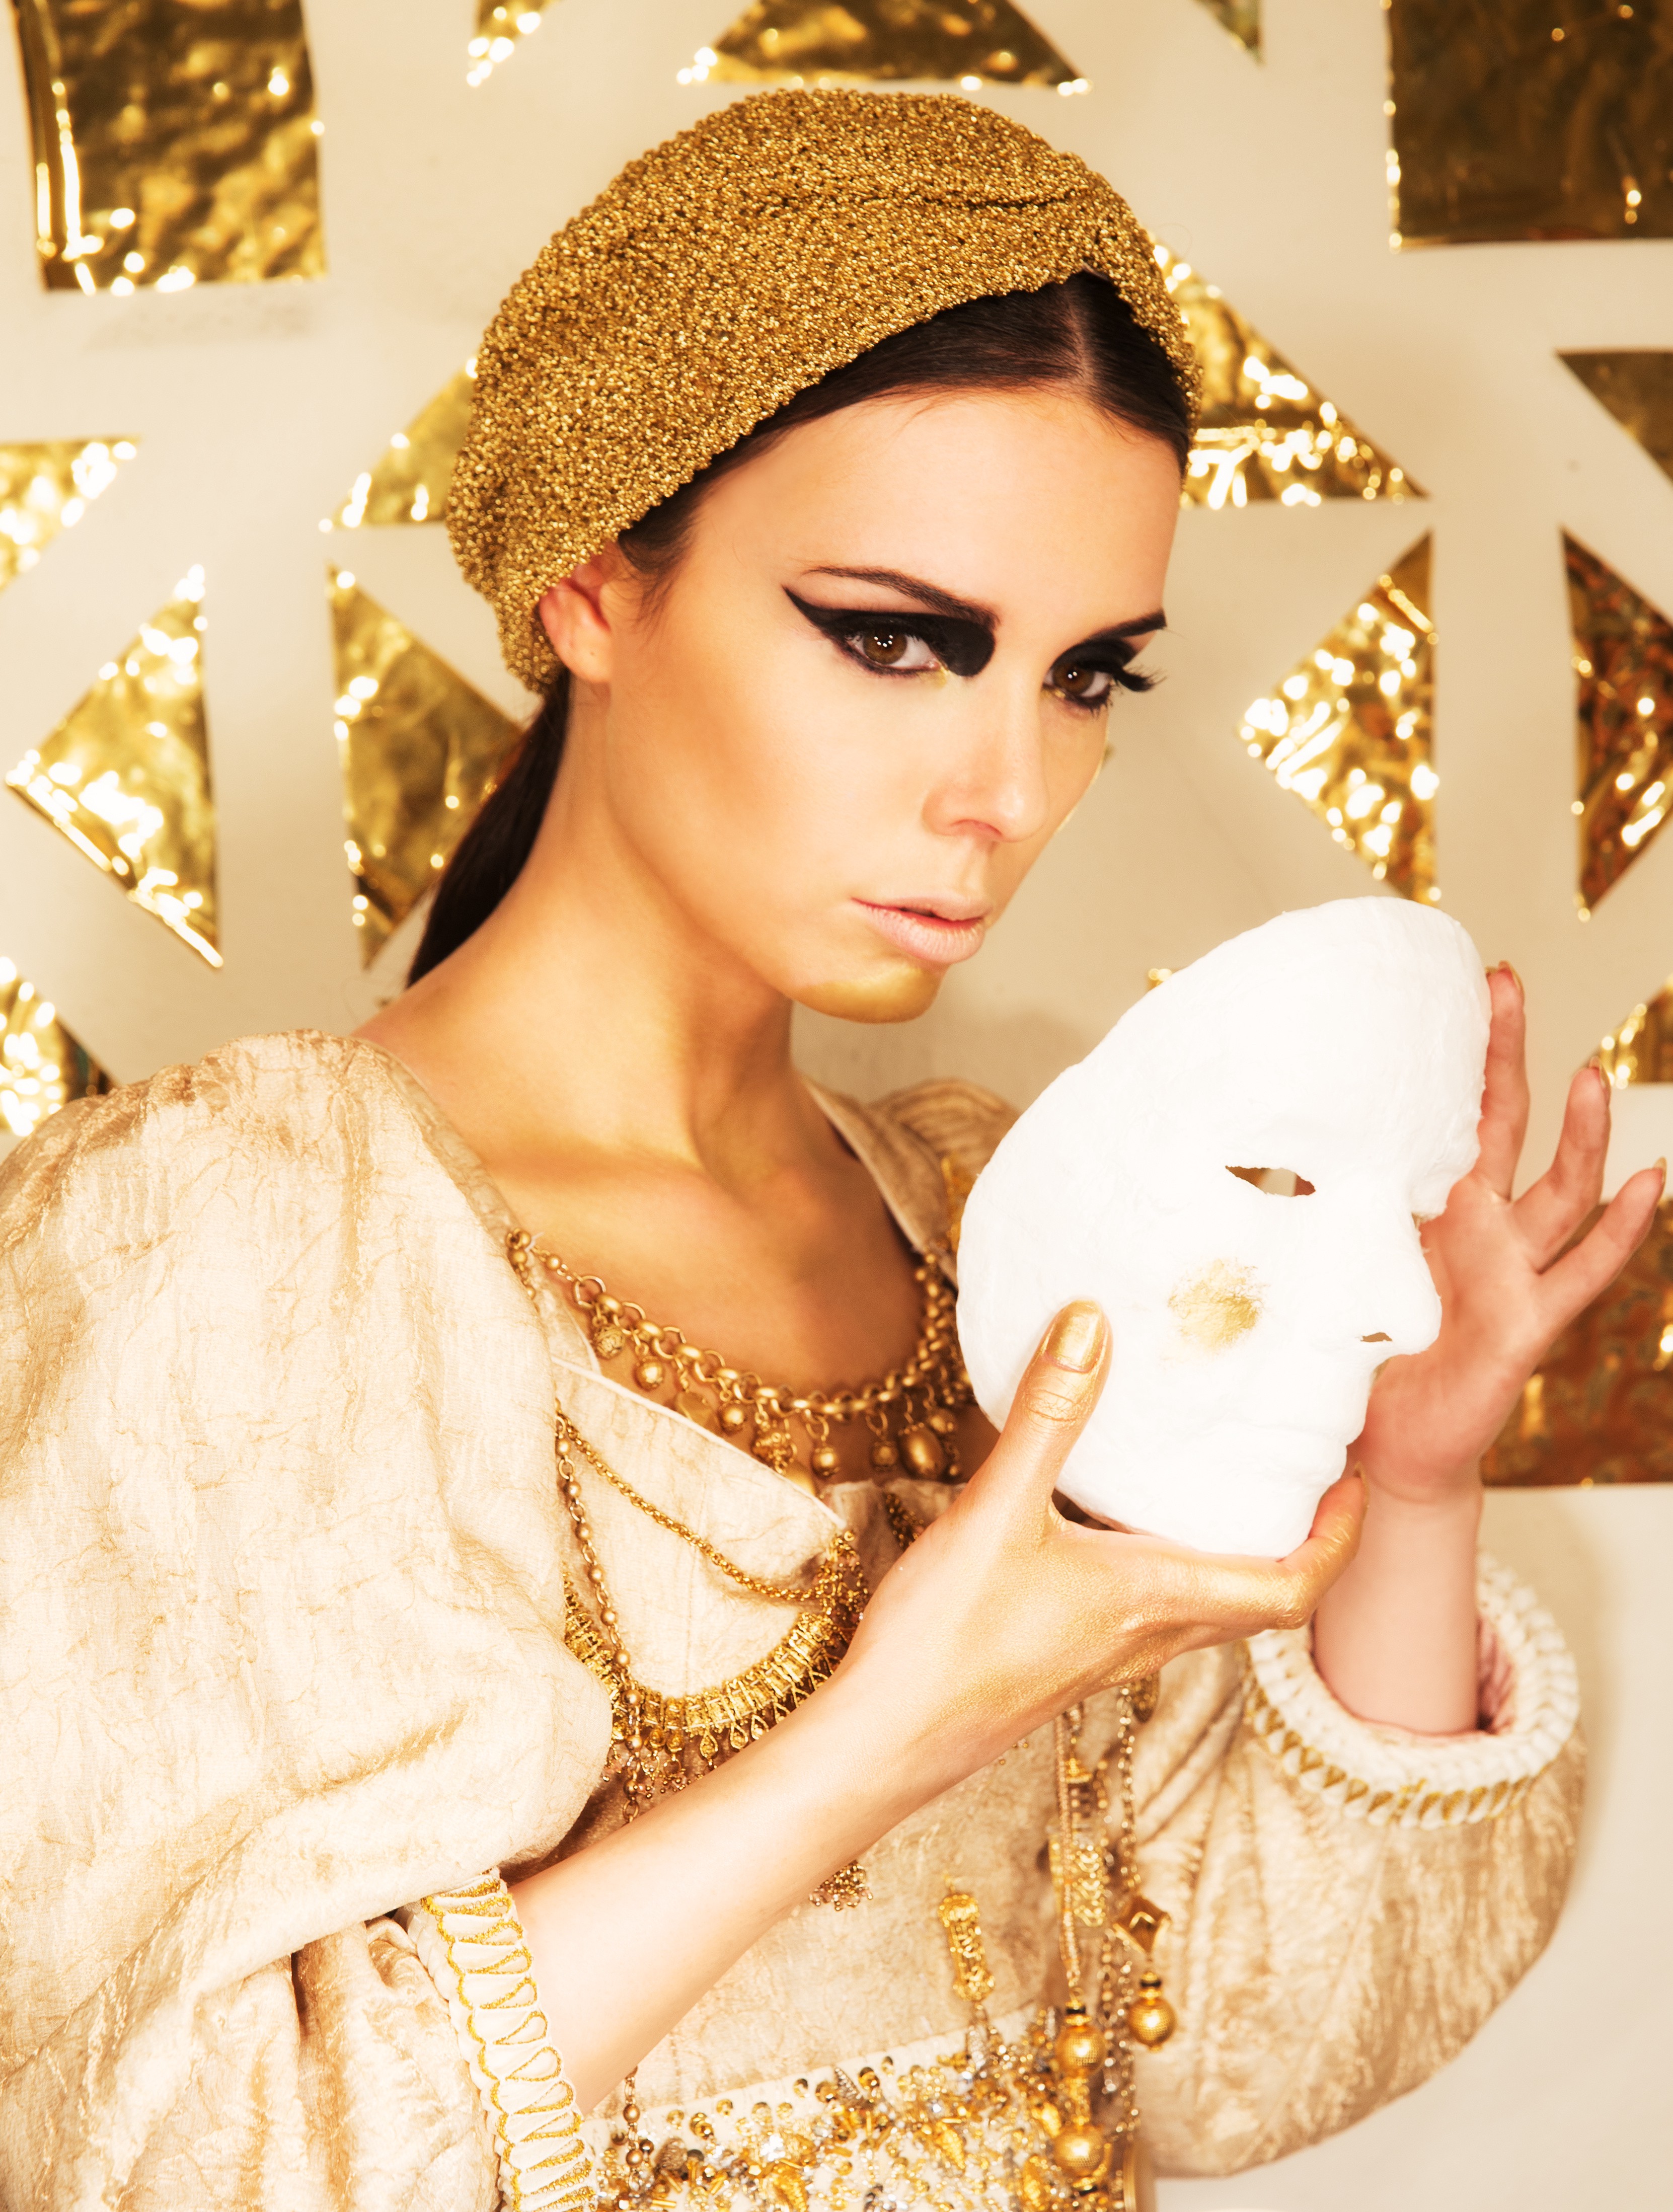
Designers (especially jewelry people) often ask me about how some photos show the texture properly and all the facets of jewelry shine and look 3 dimensional when same pieces with different lighting look pale, flat and cheap. Let’s return for a second to this story where we talked about skin texture and light. Now, what’s bad for skin (because we want to hide texture) is good for clothes and jewelry build around textures. So if you would like to show that sweet raw texture or make crystals shine, use hard, directed light.

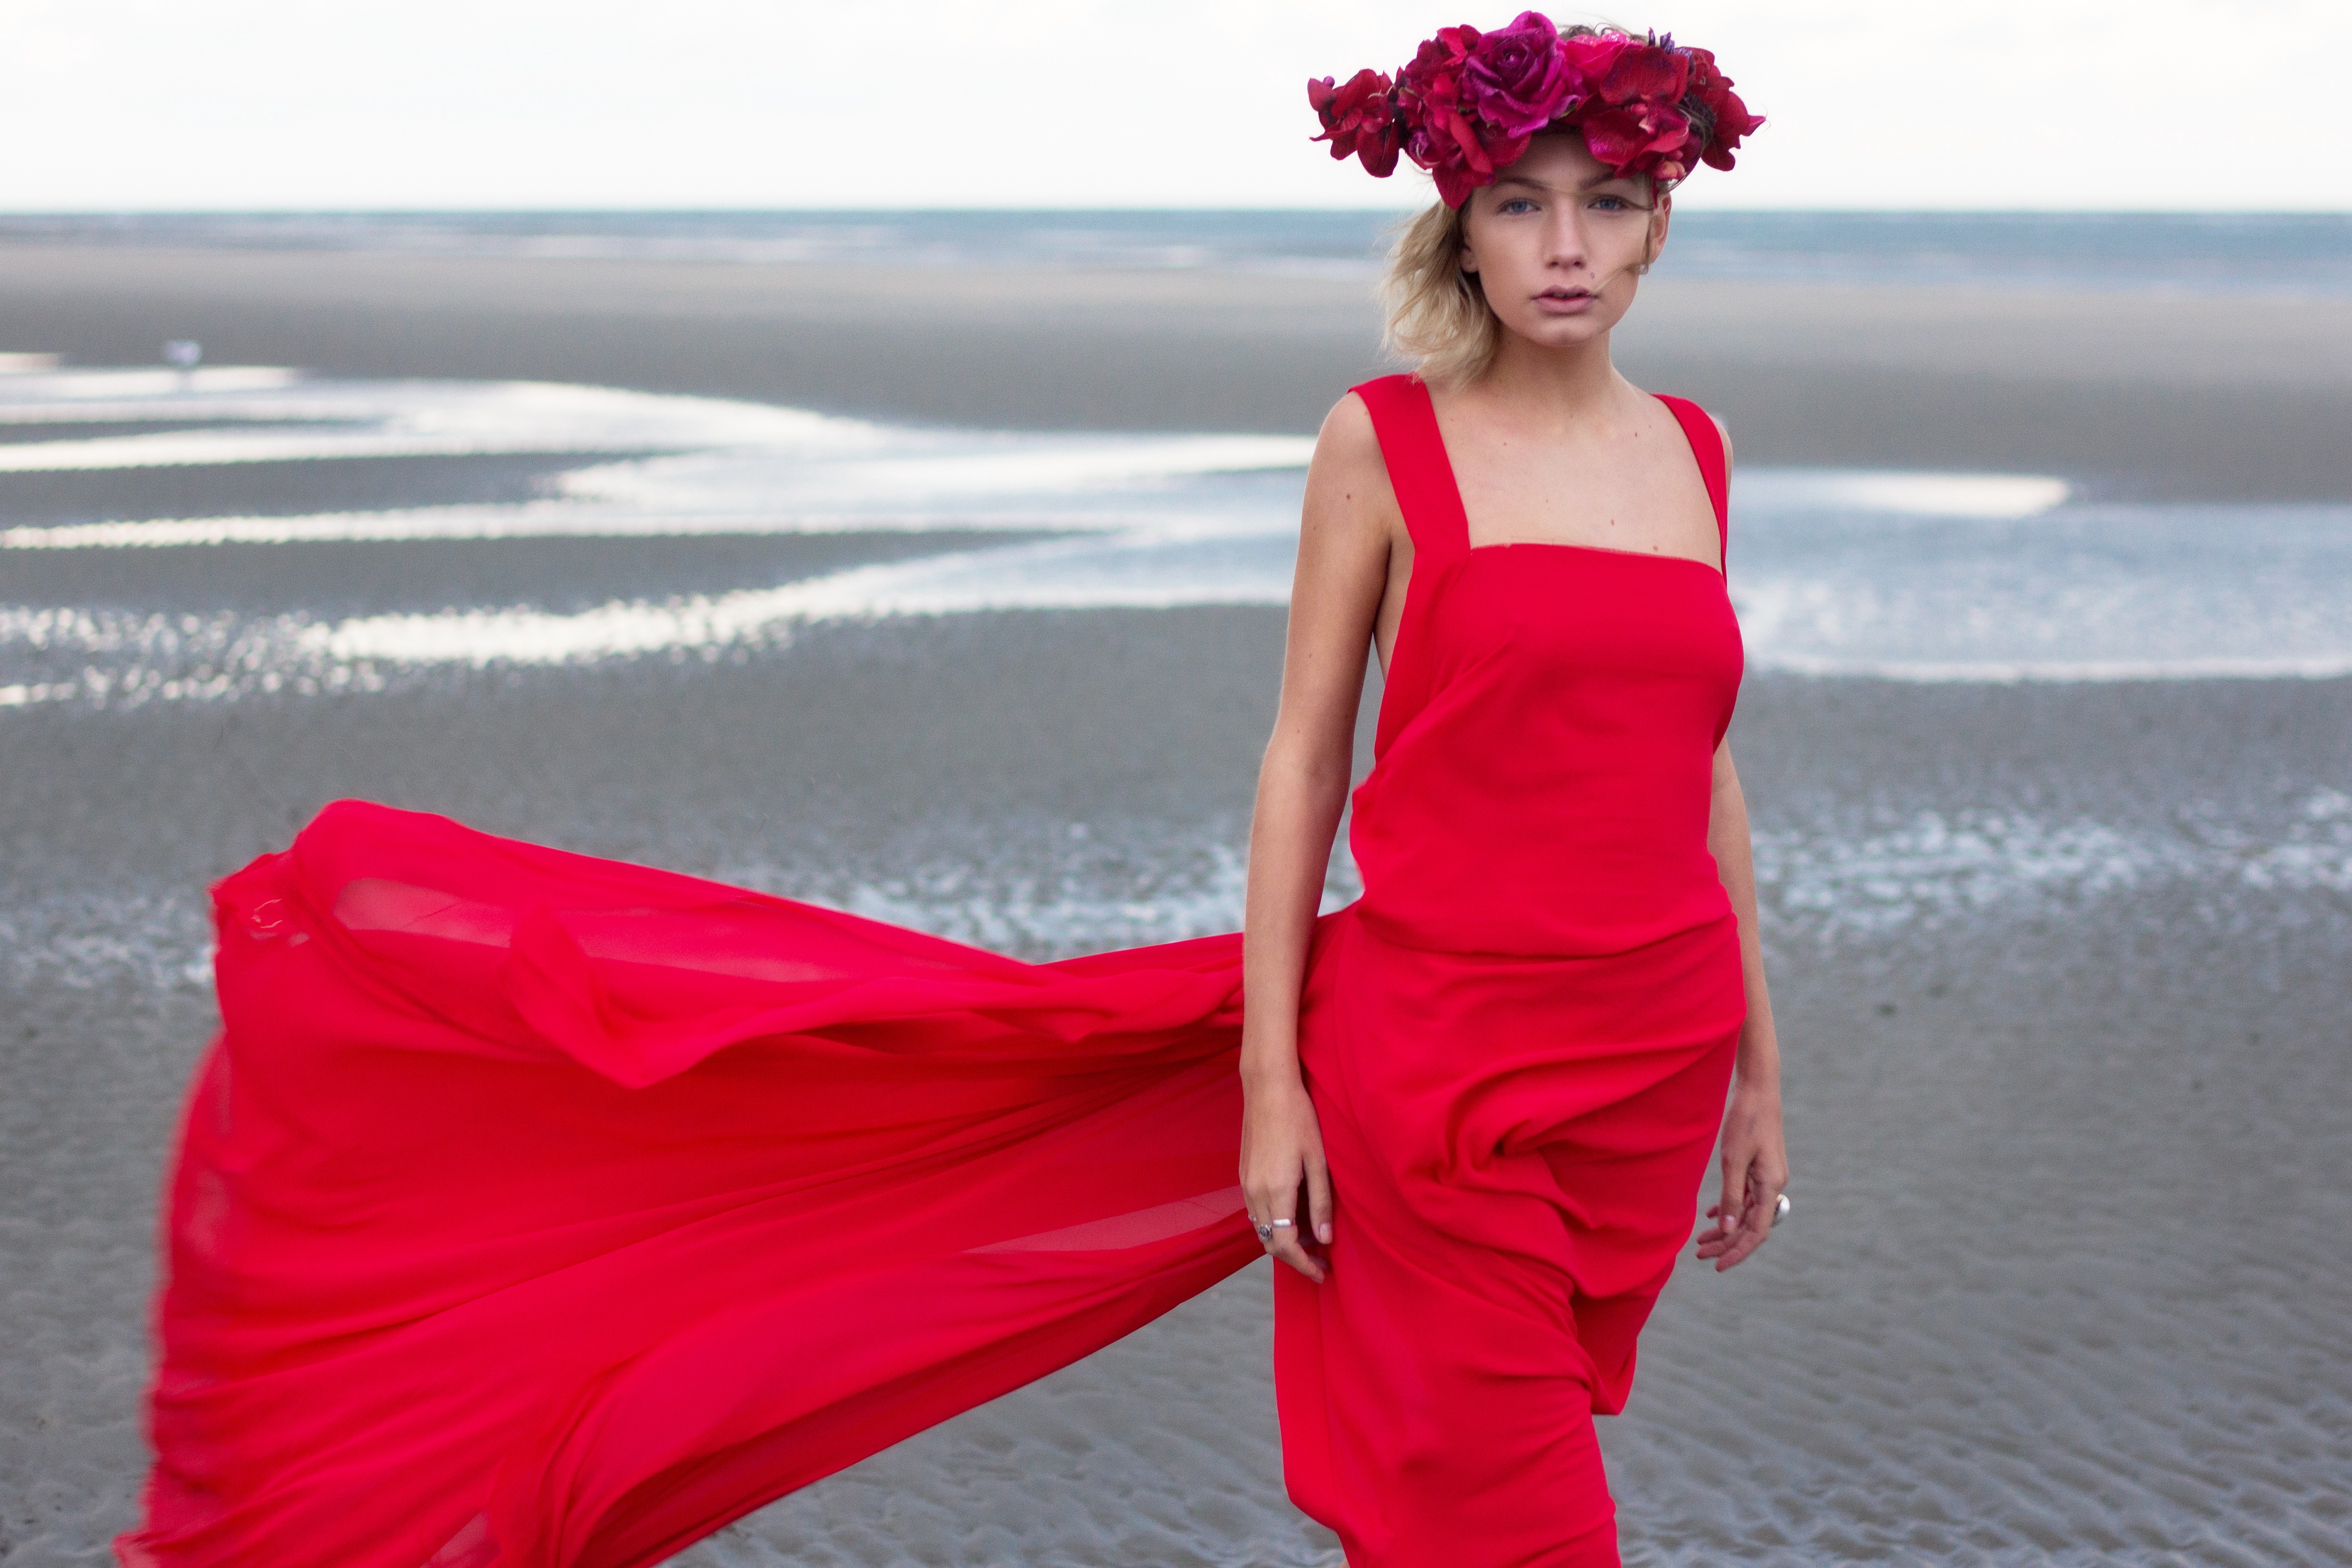
At the same time, if you’d like to really emphasize bright color, you can work on pastel background like lead picture, with very soft light. Pastels also work together well with the soft light — like so:
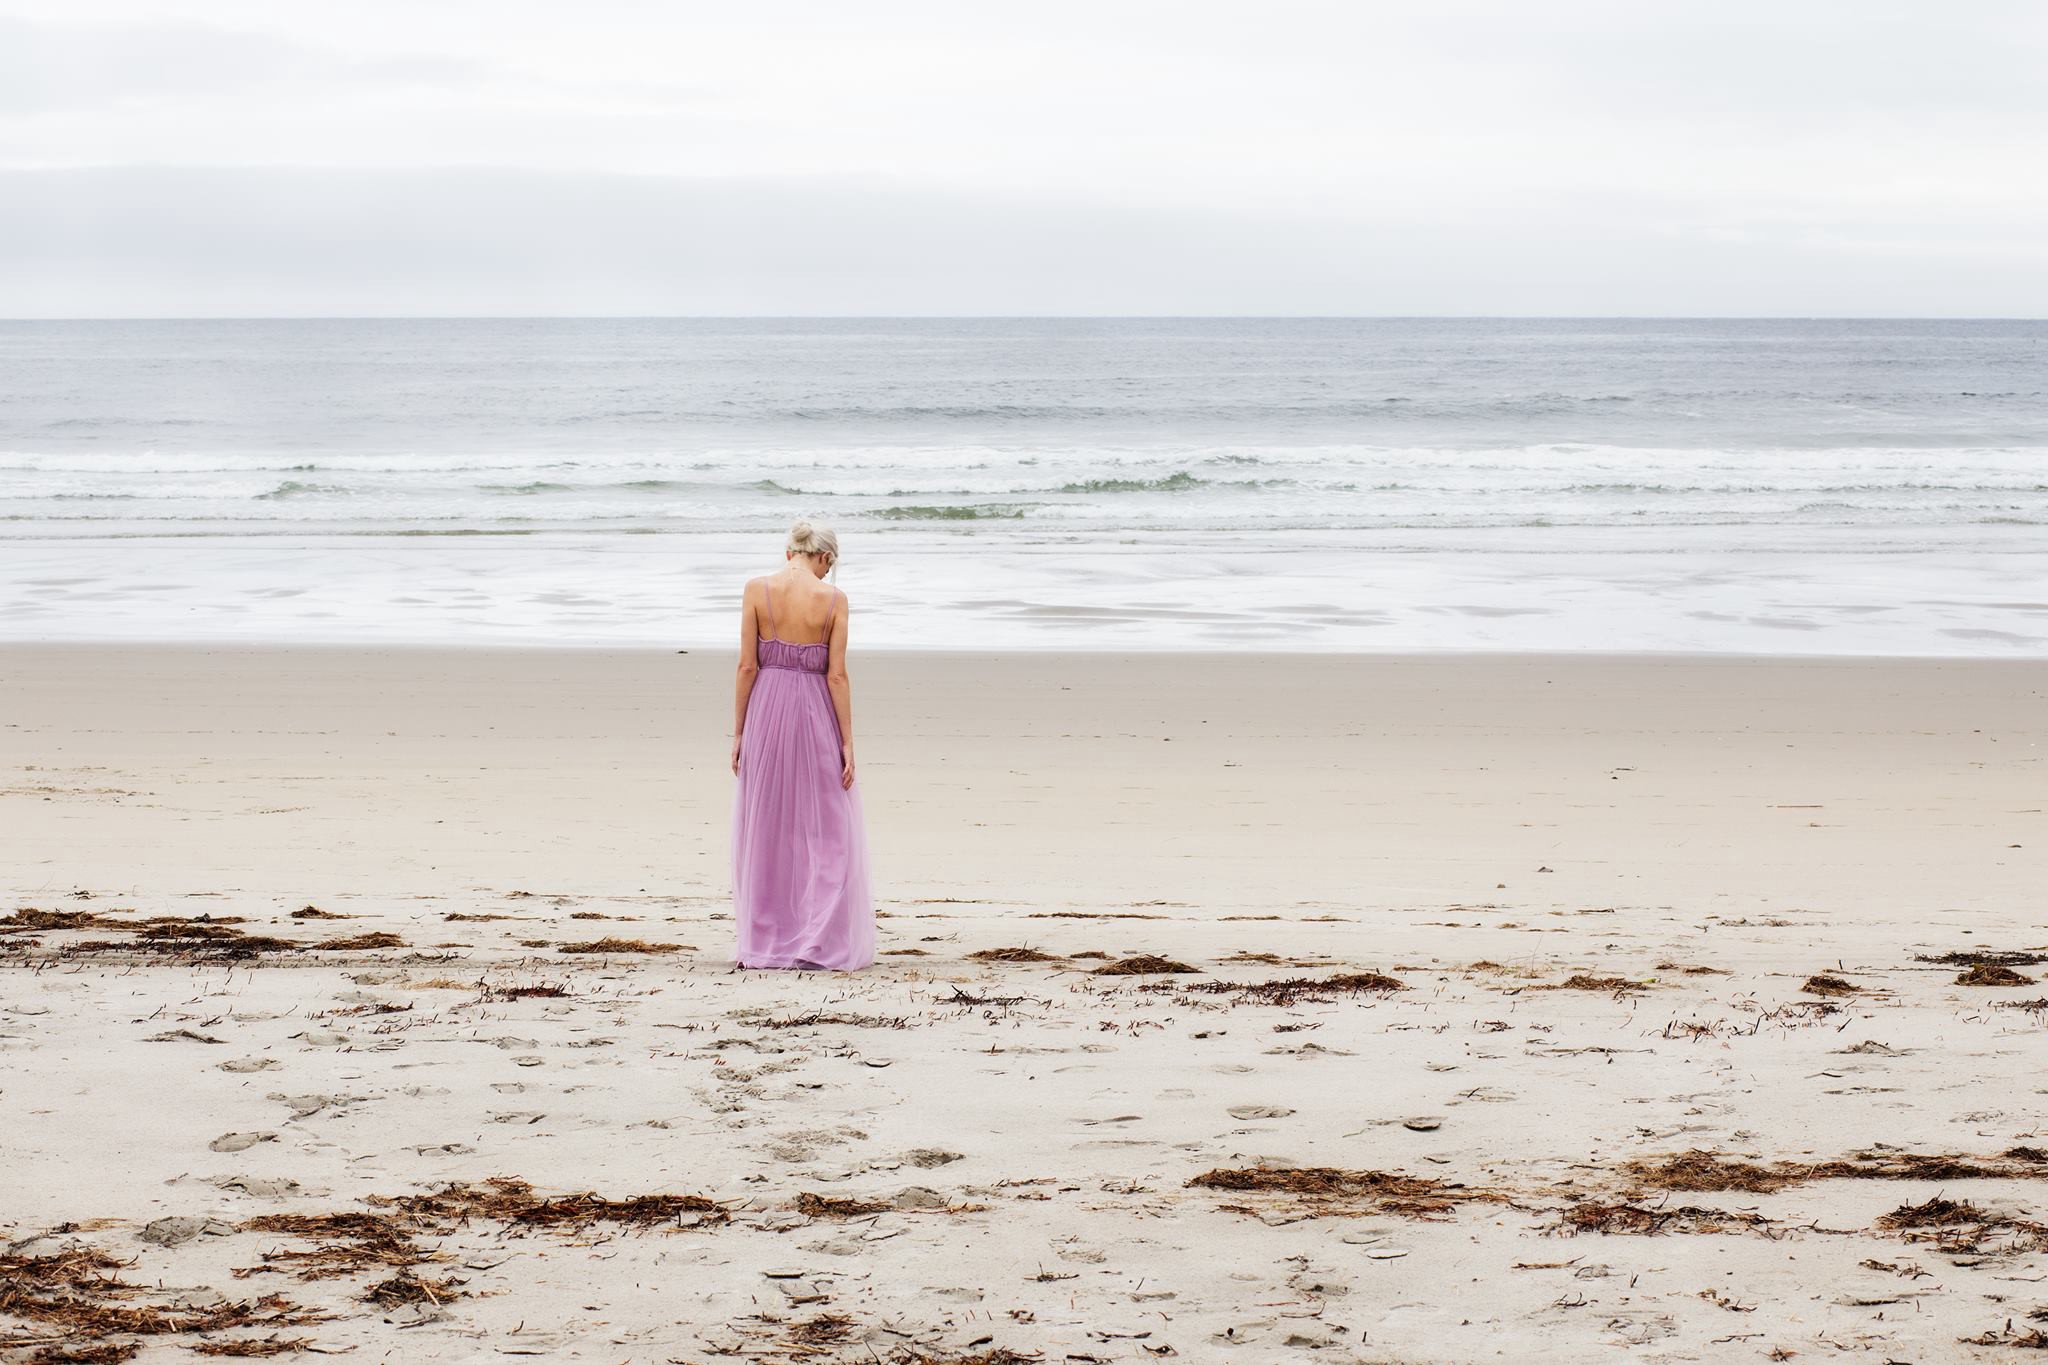
So, general rule to memorize —soft light for colors, hard light for textures.
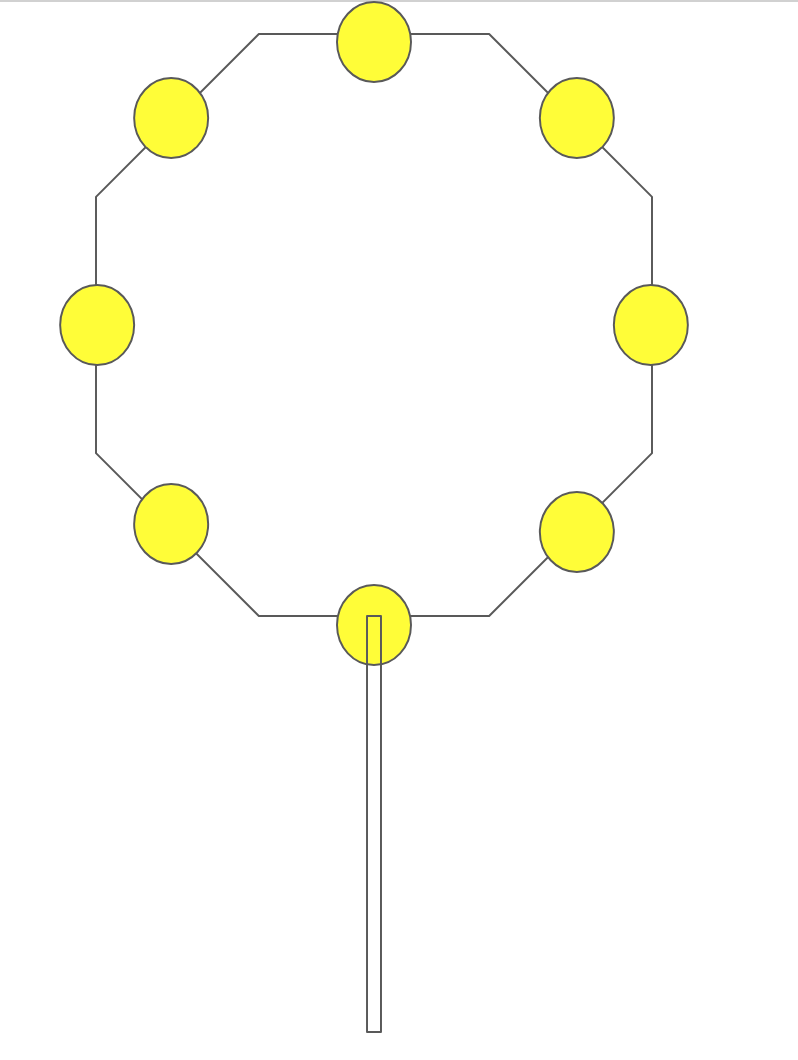
Another little trick for advanced studio lighting. If you would like to have metallic textures and jewelry 3 dimensional and shiny and mat skin perfectly soft and without defects, use 3 or more small soft light sources all around the model’s face. For the portrait below I constructed the light made with 8 mat lightbulbs on wooden frame (see the scheme below)